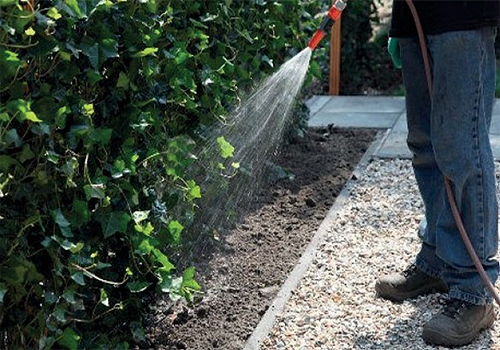
The INSTANT LIVING SCREEN consists of a metal grid that is completely overgrown with plants.
These plants are in a biodegradable container, consisting of coconut fibers (Coir), which are held together by a natural latex.
After planting the living screen, the coir container digests within one to two years, depending on the soil type, adding nutrients,
whilst improving structure and water retention humidity.
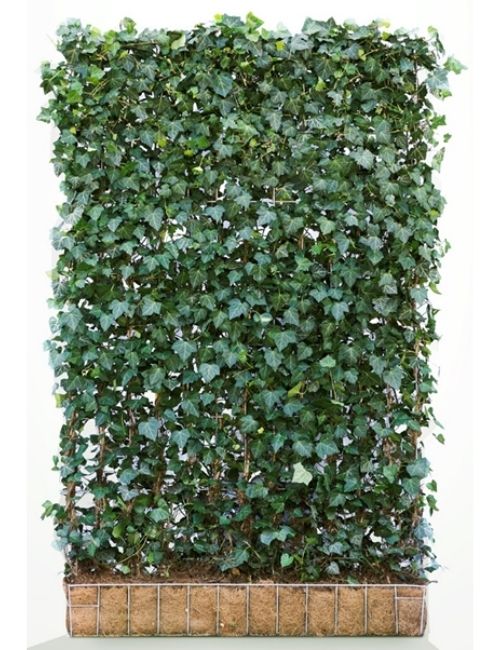
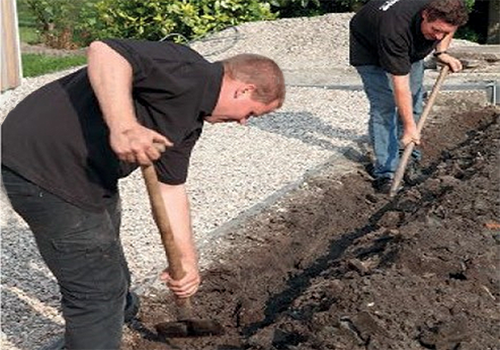
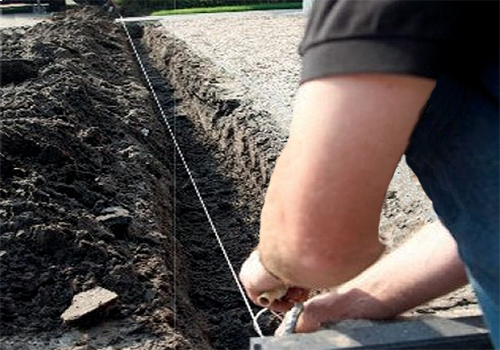
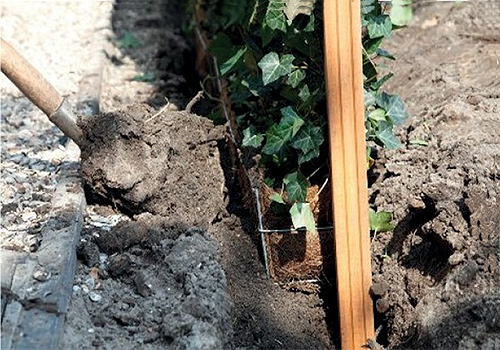
The screens are designed so that they can be planted directly into the ground in 40 X 40cm trench.
In situations when planting in the ground is not an option they can be grown in our Larch or GRP troughs with support posts.
Narrow enough to be installed in most situations, and therefore ideal for balconies, terraces, courtyards and other areas with limited space.
Planting in Open Ground
Preparation
Before the living screen can be planted it is necessary to determine exactly what the total desired hedge length is.
The hedge elements have a standard length of 120 cm.
Depending on the species their heights vary, including:
100cm
155cm
180cm
220cm
300cm
(this is the height AFTER planting)
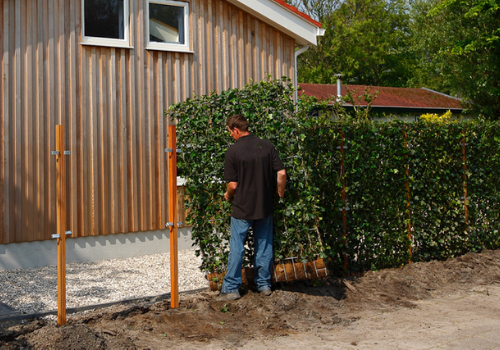
If the living screen is to be planted directly against side confinements, such as a wall, ensure that you keep about 5 cm away from the surface.
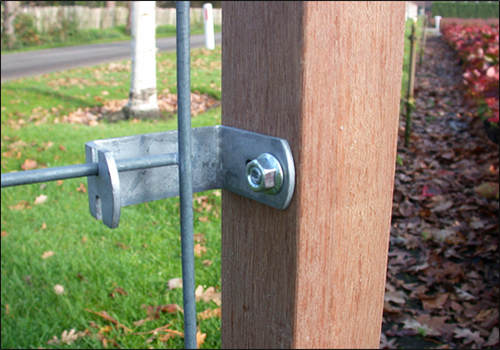
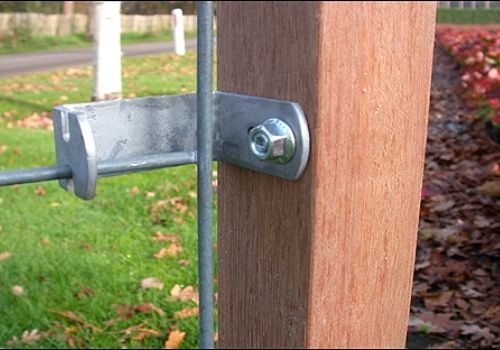
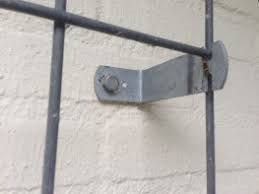
This can be achieved by fixing batons against the wall or fence and using our specialist wall fixing brackets.
Dig a planting trench of 40 x 40 cm and break up the surface. Add compost or gravel if the soil is heavy or clay for better drainage.
Installation Considerations
For good root development, it is necessary that the subsoil is free of obstacles such as rocks and debris or impermeable loam or clay layers.
If the hedges are at the lowest point of the site or when paving drains on the plant slot, it may be necessary to apply a drainage in advance.
When hedges are planted in containers or on raised parts, dehydration can occur.
Extra watering is then necessary all year round. If necessary, automated water can be given by means of a drip hose. Note: For the first year,
the drip hose should be placed on the digestible coconut container. After 1 year or with good rooting, it should be moved outside the container.
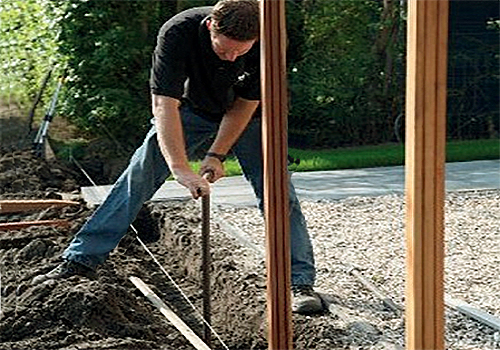
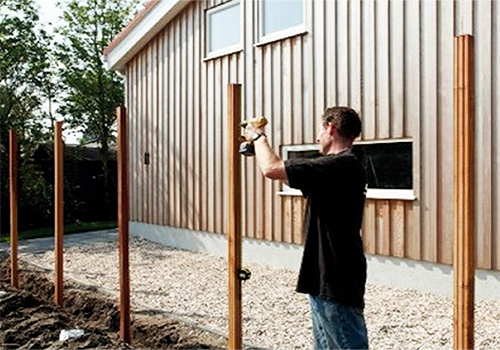
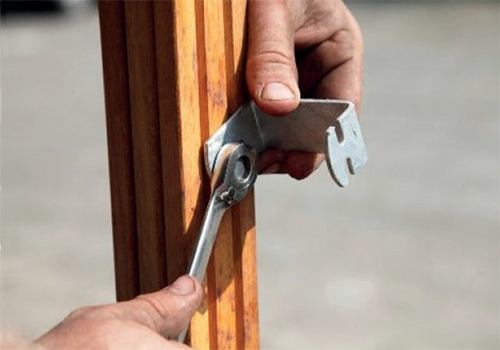
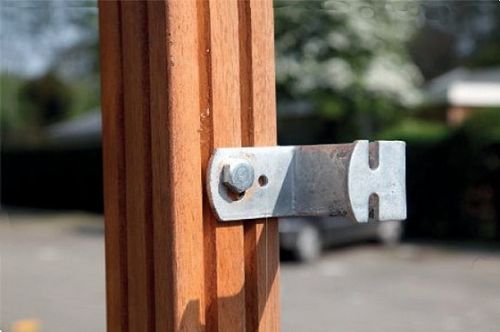
The galvanized brackets for wooden poles are universal.
For a screen of 120 x 100 or 180 cm 4 brackets are needed, with a 120 x 200 & 220cm
hedge 6 will be needed.
Before installation, the holes are pre-drilled with a 6mm drill, after which the flange nut can be tightened.
POSITION DETERMINATION OF BRACKETS
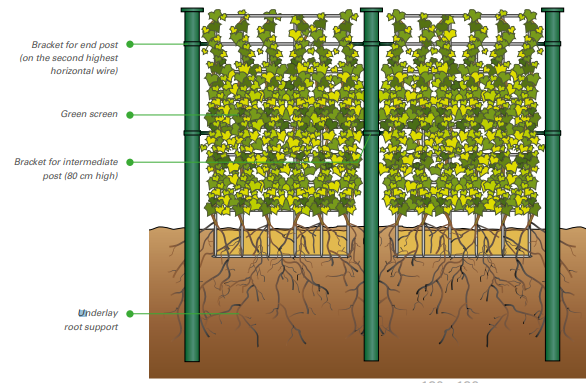
The upper bracket is mounted at the level of the second-highest wire of the meshwork
(approximately 25 cm from the top).
The lower bracket is mounted in the middle of the mesh (fourth horizontal wire, approximately
100 cm above ground level).
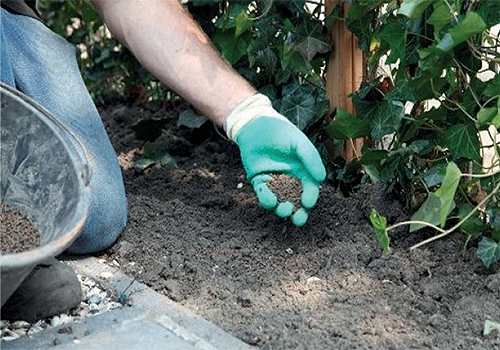
The plant trench is supplimented with excavated soil including soil improvement and drainage gravel.
Note: The top of the digestable container is level with the ground level.
When planting, slow release fertiliser should be applied such as Osmacote or Miracle Grow granular fertiliser.
POWDER COATED POSTS AND BRACKETS
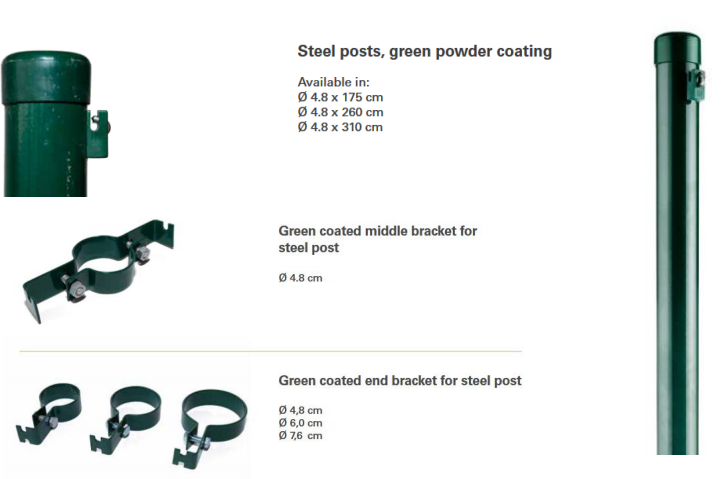
For a longer lasting support post we can supply powder coated metal posts, which are 45 cm diameter, plus special powder coated bracket clamps. As well as looking more elegant, they are less intrusive than the wooden posts. The principles of planting them in the ground are the same as with the wooden posts.
Installation of living screens using Powder Coated Metal Posts for support
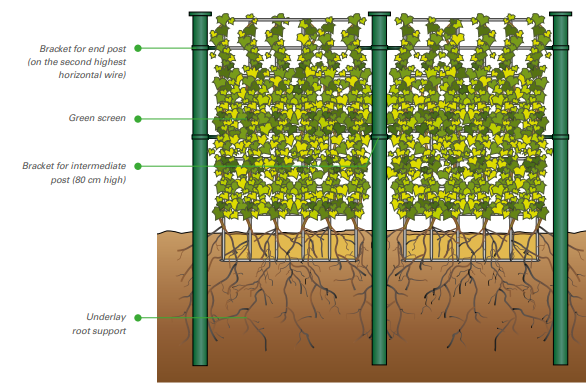
MAINTENANCE ‘GREEN SCREEN’ PLANTED IN THE GROUND
Pruning
In the year of planting, pruning is not advisable. Thereafter pruning should be carried out once or twice a year in order to keep a compact hedge. Best months for pruning are April / May and September / October.
Fertilisers
After a month the mycorrhiza will have started to develop within the plant root system, so now fertilisers will be essential for the welfare of the screens. The planting medium does not contain any nutrients so these must be introduced. A good quality slow release fertilizer, such as Osmocote is the most effective way of feeding your living screens. Most provide 3 to 6 month supply, so re-apply as appropriate. Alternatively a liquid fertilizer, such as Miracle Gro can be applied once a week as part of the watering regime.( Note that the type to be used depends on soil type and nutrient levels of the soil.)
An application of slow release fertiliser in September is recommended for the winter months. Failure to provide the screens with sufficient food will result in the plants failing.
An annual feeding with slow release fertilisers in spring is essential. Additional feedings might be required with soils showing deficiencies, which could be indicated by a soil-testing laboratory.
.
Pests and diseases
Symptoms of presence of a pest or disease should be diagnosed by an expert. He/she can determine the type of organism involved and judge the need for a treatment.
As the ‘Green Screen’ is a nesting place for bird life, chemical applications should be avoided as much as possible
Watering
The Green Screen needs to be adequately watered for the first summer after installation late April to September.
NOTE: We recommend the installation of a basic timer/leaky pipe irrigation system.
MAINTENANCE ‘GREEN SCREEN’ IN TROUGHS
Pruning
In the year of planting, pruning is not advisable. Thereafter pruning should be carried out once or twice a year in order to keep a compact hedge. Best months for pruning are April / May and September / October.
Watering
The Green Screen needs to be adequately watered at least three times per week and more in warm or windy weather. This must be done even if there has been rain as the planter will not get sufficient moisture in the planting medium from rain. In the winter months the plants will still need moisture so weekly watering is essential. Failure to provide the screens with sufficient water will result in the plants failing. It is recommended that watering is done in the evening or morning to reduce the possibility of scorching.
As above, we recommend a timer irrigation system.
Fertilisers
As recommended above when first plated, apply mycorrhizal Rootgrow.
(See website for more information)
After a month the mycorrhiza will have started to develop within the plant root system, so now fertilisers will be essential for the welfare of the screens. The planting medium does not contain any nutrients so these must be introduced. A good quality slow release fertilizer, such as Osmacote is the most effective way of feeding your living screens. Most provide 3 to 6 month supply, so re-apply as appropriate. Alternatively a liquid fertilizer, such as Miracle Gro can be applied once a week as part of the watering regime.( Note that the type to be used depends on soil type and nutrient levels of the soil.) An application of slow release fertiliser in September is recommended for the winter months. Failure to provide the screens with sufficient food will result in the plants failing.
.
Pests and diseases
Symptoms of presence of a pest or disease should be diagnosed by an expert. He/she can determine the type of organism involved and judge the need for a treatment.
As the ‘Green Screen’ is a nesting place for bird life, chemical applications should be avoided as much as possible
YEARLY MAINTENANCE SCHEDULE
· FIRST QUARTER
General check of irrigation system.
Ensure all plants are in a healthy condition and treat where necessary
Refill the irrigation system and confirm all areas are operational.
Check and fill feed tanks
· SECOND QUARTER
Full check of the irrigation system including drip hoses and flow rates.
Feed plants.
Ensure all plants are in a healthy condition and treat where necessary.
Prune plants when required.
Wind in and train new growth where required.
· THIRD QUARTER
Check irrigation system.
Ensure all plants are in a healthy condition and treat where necessary.
Prune plants when required.
Wind in and train new growth where required.
Empty feed tanks.
· FOURTH QUARTER
Full check of the irrigation system including drip hoses and flow rates.
Ensure all plants are in a healthy condition and treat where necessary
Drain the irrigation system to prevent freezing.
Ensure the irrigation system is safe guarded against winter conditions
NB
During the first 6 months following installation visits will be required every 2 weeks.
Your name *
