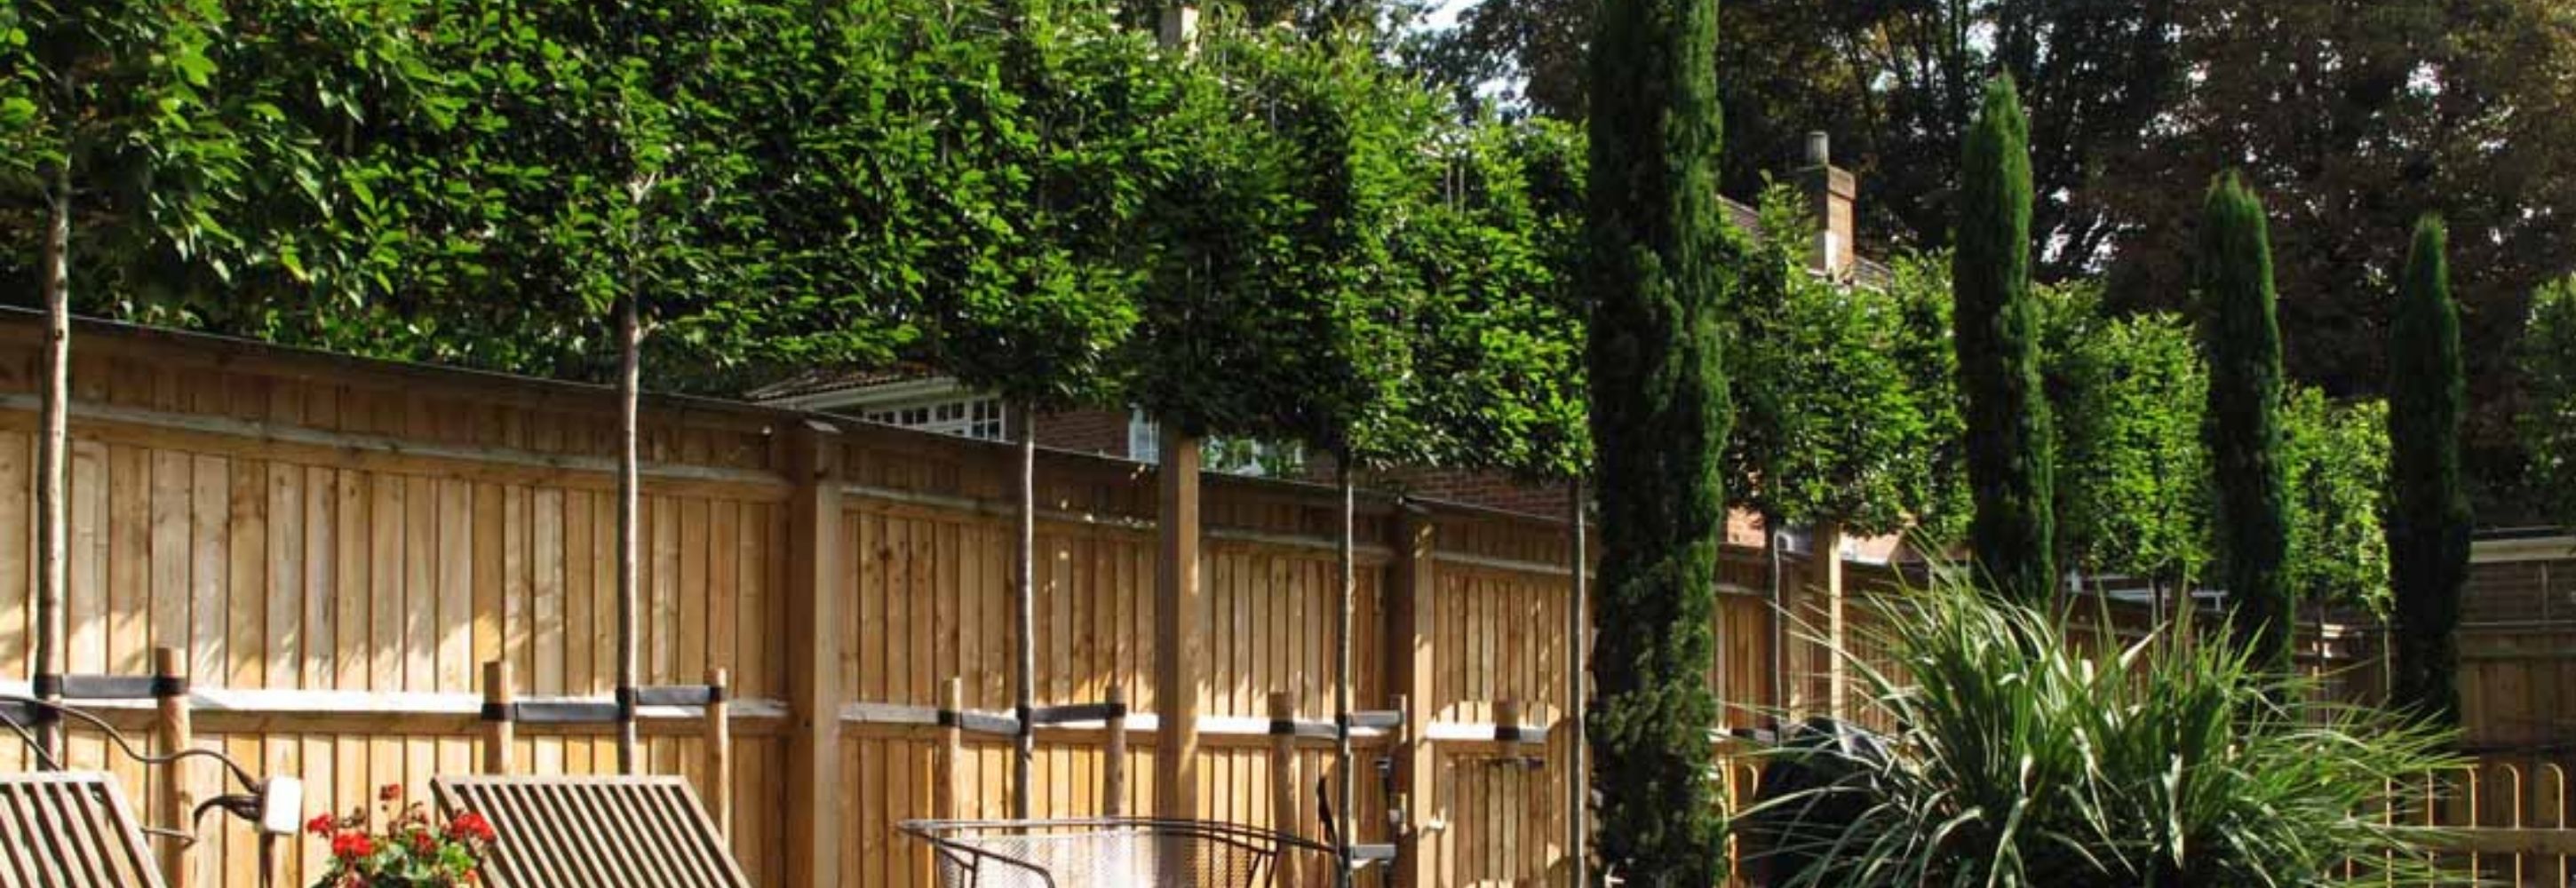
Screening off the neighbours is the most common reason why our clients need pleached trees installed.
As well as being very elegant, they are effective at screening above a fence or hedge to block off overlooking houses.
However, gardeners can be put off by their unusual staking requirements.
Don't let that put you off, here's your one-stop guide!
This article focuses on the specific challenges that planting pleached trees present outside of normal tree planting.
However, if you need an initial reminder of the main points of tree planting we recommend the Barcham Trees Planting
Guide. It's very comprehensive with some great video guides.
Pleached trees need special planting attention, if they are not planted correctly this can cause them to blow over.
The root ball needs to be stabilised due to the large flat surface area of the exposed canopy making them very susceptible
to being blown over by the wind.
When first planted, the tree will not have developed a large enough root system to withstand the wind forces.
Planting Instructions
1. Pre-soak tree rootball or potted tree (Preferably the day before planting)
2. Dig a hole at least half again the size of the root ball, ensuring sides are not compacted to allow new root penetration.
3. Prepare the soil so that is free draining, whilst being water retentive to survive drier periods.
4. Mix 2-3 shovels of grit with one bag of compost per tree.
5. Fill base of hole with the above mixture.
6. If potted or in Grow bag, carefully remove the rootball pot. (Gently pull out horizontally). With the rootball exposed, tease out the outer roots, avoiding any damage, and keep it moist to avoid root hairs drying out. Cover the rootball if planting is delayed.
7. Treat tree root directly as well as the base of the hole with Rootgrow. (We recommend Professional Rootgrow for optimum root and long term growth and health. If you cannot obtain it locally, we can supply landscaper tubs.
8. Place tree in hole and layer in more compost mixture, firming down each layer as you go, to avoid any air-pockets. Tamp down firmly. In the final top layer of the compost mix in bone-meal and slow release fertilizer, such as Osmacote.
9. Ensure tree base is proud of surrounding ground to avoid trunk rotting
Staking Pleached trees
It is important to prevent the root ball from rocking or the roots cannot establish themselves in the first few years.
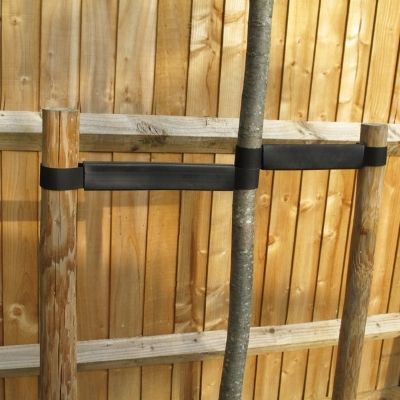
The ideal method is to stake each tree with two stakes**. Securely fasten using lengths of tree belt with a nail gun
into each post for stability of the root ball. We find the tree belts by Green-Tech and the Barcham Trees work best.
(**60 or 75mm diameter round posts. Stake no higher than 1 meter above ground)
In addition, use long stakes, usually 3-3.5m above ground, at either end of a run, plus at every 4/5th tree.
Postcrete (a fast setting concrete) the tall stakes in the ground (1/3 below ground), and allow to set.
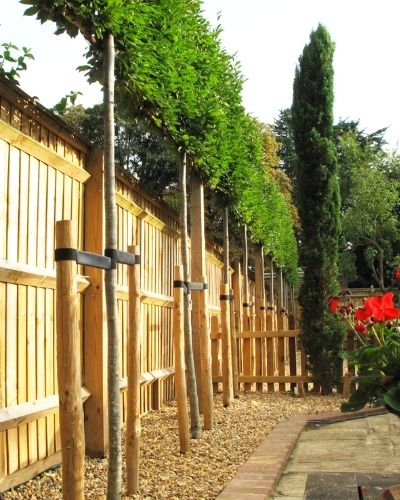
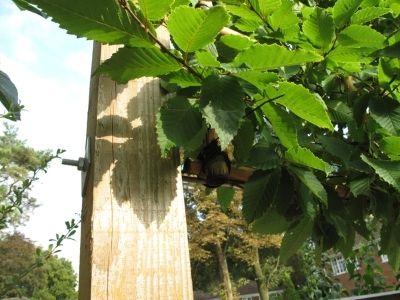
Finally the frames are then tied to 4 – 6 mm wire rope that runs between the poles at the level of the top and bottom panel canes.
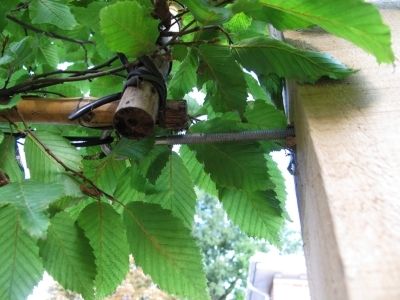
Mulching
Use a mulch mat around the tree to prevent grass and weed growth around the tree, which will deprive the tree
of water and minerals.
Watering:
Ensure the trees receive sufficient water for the first season to establish good roots Initially, water through the
rootball and if necessary gently create 1cm drainage holes in the top of the rootball with a dibber.
This will help water seep into the rootball, rather than round it, and not penetrate into the rootball.
Burying PVC water pipes either side of the rootball with holes drilled every 2 cm by the side and below the
rootball will provide an effective root watering system. Ensure that the pipe goes 30cm below the root ball to
encourage the roots to grow downwards.
Feeding:
If planting in the dormant season, then a base scattering of bonemeal will help establish root.
A good quality slow release balanced fertiliser, such as Osmacote can also assist the development of the
trees during the growing season.
Apart from the Osmacote or equivalent, do not feed the tree for the first few months to encourage the
Rootgrow to germinate and increase the efficiency of water and mineral uptake.
Top-dress with appropriate tree fertilizer next spring.
Clipping:
Once established, it is advisable to trim the branches of the trees in mid to late May and then again in late
August for shaping. This will also help thicken the trees.
Tie some of the branches onto the framework to help achieve this. It is best to use a tree tying material, which
will stretch with the growth of the branch. Loosen any ties that are in danger of cutting in to the branches.
Each time the trees are pruned you should keep checking that you are pruning back to the line you want.
If you have confidence in your visual judgment you can do this by eye, otherwise use a long metal ruler.
Rub out any buds that appear on the trunk or main branches of the tree. Eventually, the tree will form a total
block and when you get to this stage you can then just trim like you would a hedge (shears or mechanical).
It is standard practice to leave the framework within the growing head.
Eventually they will decompose or fall out. Once the trees are established you can to remove the framework if required.
Before and After planting pleached Carpinus betulus
For advice and availability of pleached tree species and sizes, please complete our contact form
Your name *


